The plugin can be downloaded by clicking HERE.
The operating system used for this example was CentOS 5.2 and Eclipse was extracted to:
After Eclipse is installed, the plugin must be extracted to the Eclipse plugins directory. Double-click the zip archive and click Extract. Browse to the eclipse/plugins directory and click Extract.

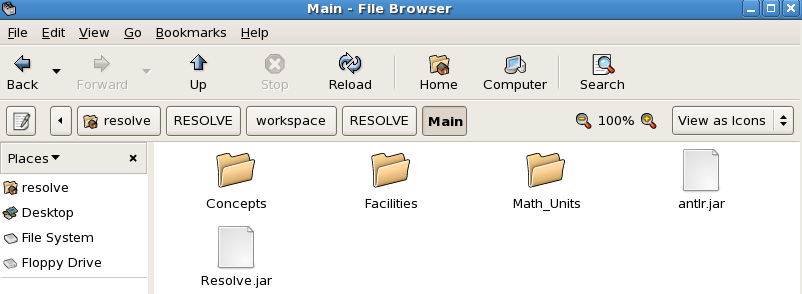
Before the Eclipse plugin will work correctly, antlr.jar and Resolve09.jar must be copied into the Main folder within the RESOLVE workspace. Copy both files to:
Next, Resolve09.jar must be renamed Resolve.jar. Here's what Main should now look like:
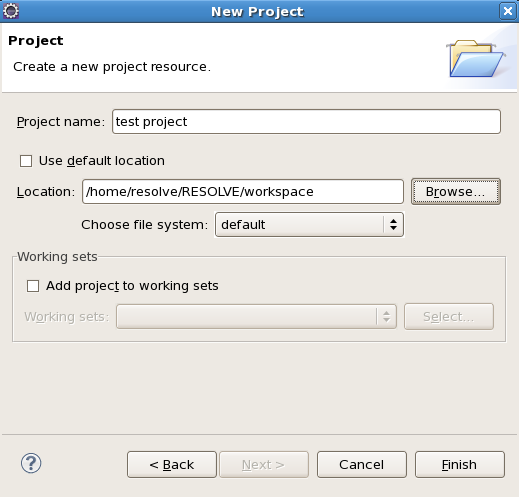
Now start Eclipse and go to the workbench. A this point a new project can be created that will be able to make use of the files in the RESOLVE workspace. Create a new project, using the RESOLVE workspace directory as the location and click finish. This will give Eclipse access to all the files in the RESOLVE workspace.
Before Eclipse can make use of the RESOLVE Compiler it must be properly configured. In Eclipse click Window, then select Preferences from the dropdown box, and click on Resolve Compiler. This should bring up the RESOLVE Compiler preferences.
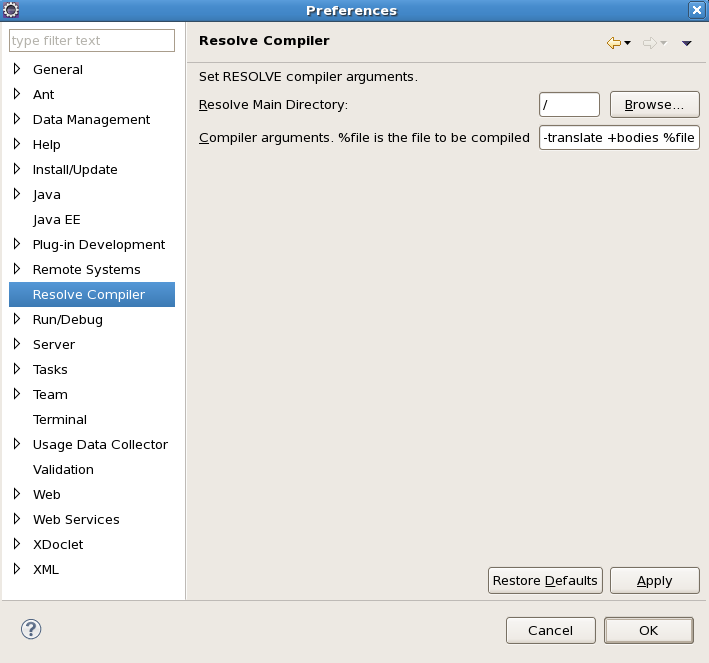
First set the Resolve Main Directory to location of Main. This tells Eclipse where to look for the RESOLVE jar files.
The Compiler arguments field is where command line arguments are specified. The primary arguments are listed below.
| -translate +bodies %file | used to create Java source files |
| -vcs %file | used to generate verification conditions |
| -vcs -prove %file | used to prove a subset of the generated VC's ** |
** NOTE: At this time, only files using Modified_String_Theory are able to proved.
After entering the arguments for the desired operation, click OK to close the Preferences window. Now the plugin is ready for use. For example, a user can generate verification conditions for the Concept Obvious_Flip_Realization.rb. In the Project Explorer, browse to the Main/Concepts/Unbounded_Stack directory and right-click on the file Obvious_Flip_Realization.rb. Position the cursor over RESOLVE and click Compile:
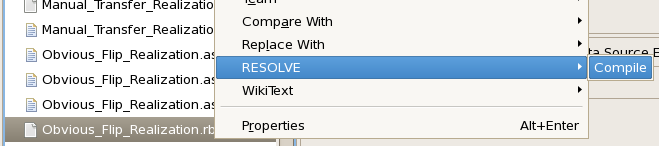
This will invoke the RESOLVE Compiler and generate the verification conditions for the file. The VC's will then be located in the file Obvious_Flip_Realization.asrt.