Installing the RESOLVE Compiler/Verifier on Unix/Linux
Now that the three RESOLVE files (antlr.jar,
Resolve09.jar, and workspace.zip) and the JDK have been downloaded, the program
can be installed to a Unix-based computer. These instruction are based on
a computer running CentOS 5.2, but the steps are similar for other
version of the operating system.
To determine if Java is already installed, open up a
command prompt and type "java -version." The example below
illustrates a system with the JDK already installed.

If the JRE or JDK is not found, go ahead and install the JDK, which will
install both the JRE and the JDK, including the Java compiler.
Installing the RESOLVE files
All that is needed to install the RESOLVE Compiler/Verifier is
to copy the two jar files and workspace.zip into the project working directory
and extract the zip file. In this example the working directory for the
project is (where /home/resolve/ is the home
directory for the example user resolve):
/home/resolve/RESOLVE/
Setting Environment Variables
Before Java will recognize the classes that RESOLVE needs to use,
the CLASSPATH variable must be set. These commands are for
the bash shell; they may differ slightly with another shell.
The paths to the two jar files and the extracted workspace directory
must be specified. Open a terminal window and type the following
command at the prompt:
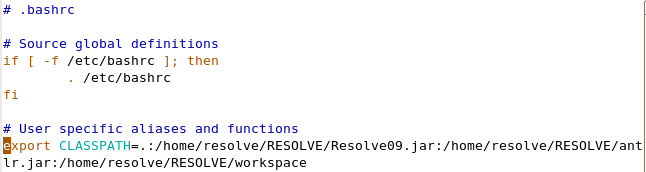
export CLASSPATH=.:/home/resolve/RESOLVE/Resolve09.jar:/home/resolve/RESOLVE/antlr.jar:/home/resolve/RESOLVE/workspace
If the terminal cannot find the export command, you are most likely using
a different shell and need to use the setenv command instead:
setenv CLASSPATH .:/home/resolve/RESOLVE/Resolve09.jar:/home/resolve/RESOLVE/antlr.jar:/home/resolve/RESOLVE/workspace
There is no confirmation message for this command, but the CLASSPATH
variable can be printed to the terminal using the command
echo $CLASSPATH, as seen below:

This is all that is necessary to begin using RESOLVE, however the
CLASSPATH will be lost after the user has logged out. The best method
is to set the CLASSPATH variable automatically when logging in.
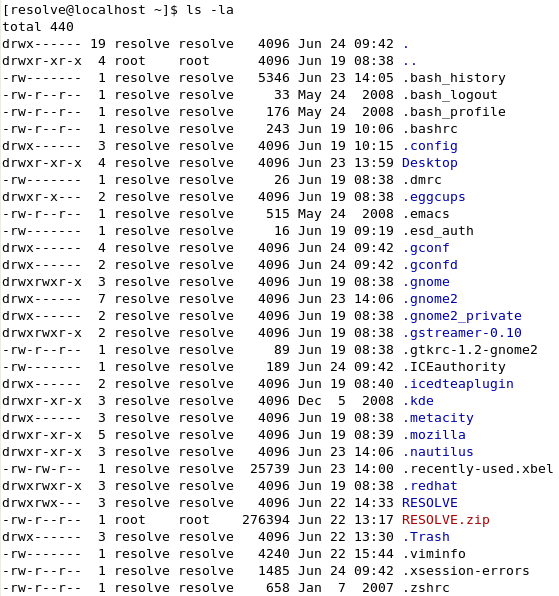
Navigate to the user's home directory and type
ls -la. This should list
all the files in the directory, as seen below:
In the bash shell, environment variables can be set in the .bashrc
file. Using an editor of your choice, open .bashrc and add the same
export command to the bottom of the file. The screenshot below shows
the entry using the VI editor from the command line.
Environment variables can be set in other shells by adding setenv version
of the command to the apprioriate .*rc file in your home directory. For tcsh, for
instance, you would open .tcshrc and add the setenv command to the end of the
file.
Once the environment file has been updated, the CLASSPATH variable will
automatically be set the next time the user logs in. This can be tested
by logging out and logging back in and using the
echo $CLASSPATH, as seen above.
Now that the RESOLVE compiler/verifier has been installed and configured,
click HERE to see how to use RESOLVE from
the command line.
Eclipse IDE/RESOLVE Plugin
There is a plugin available that allow users to use the Eclipse
Integrated Development Environment to create and compile or verify
RESOLVE files. The IDE is the same for both Windows and Unix, so
click HERE for detailed installation
instructions.
|